Create a Payment Link
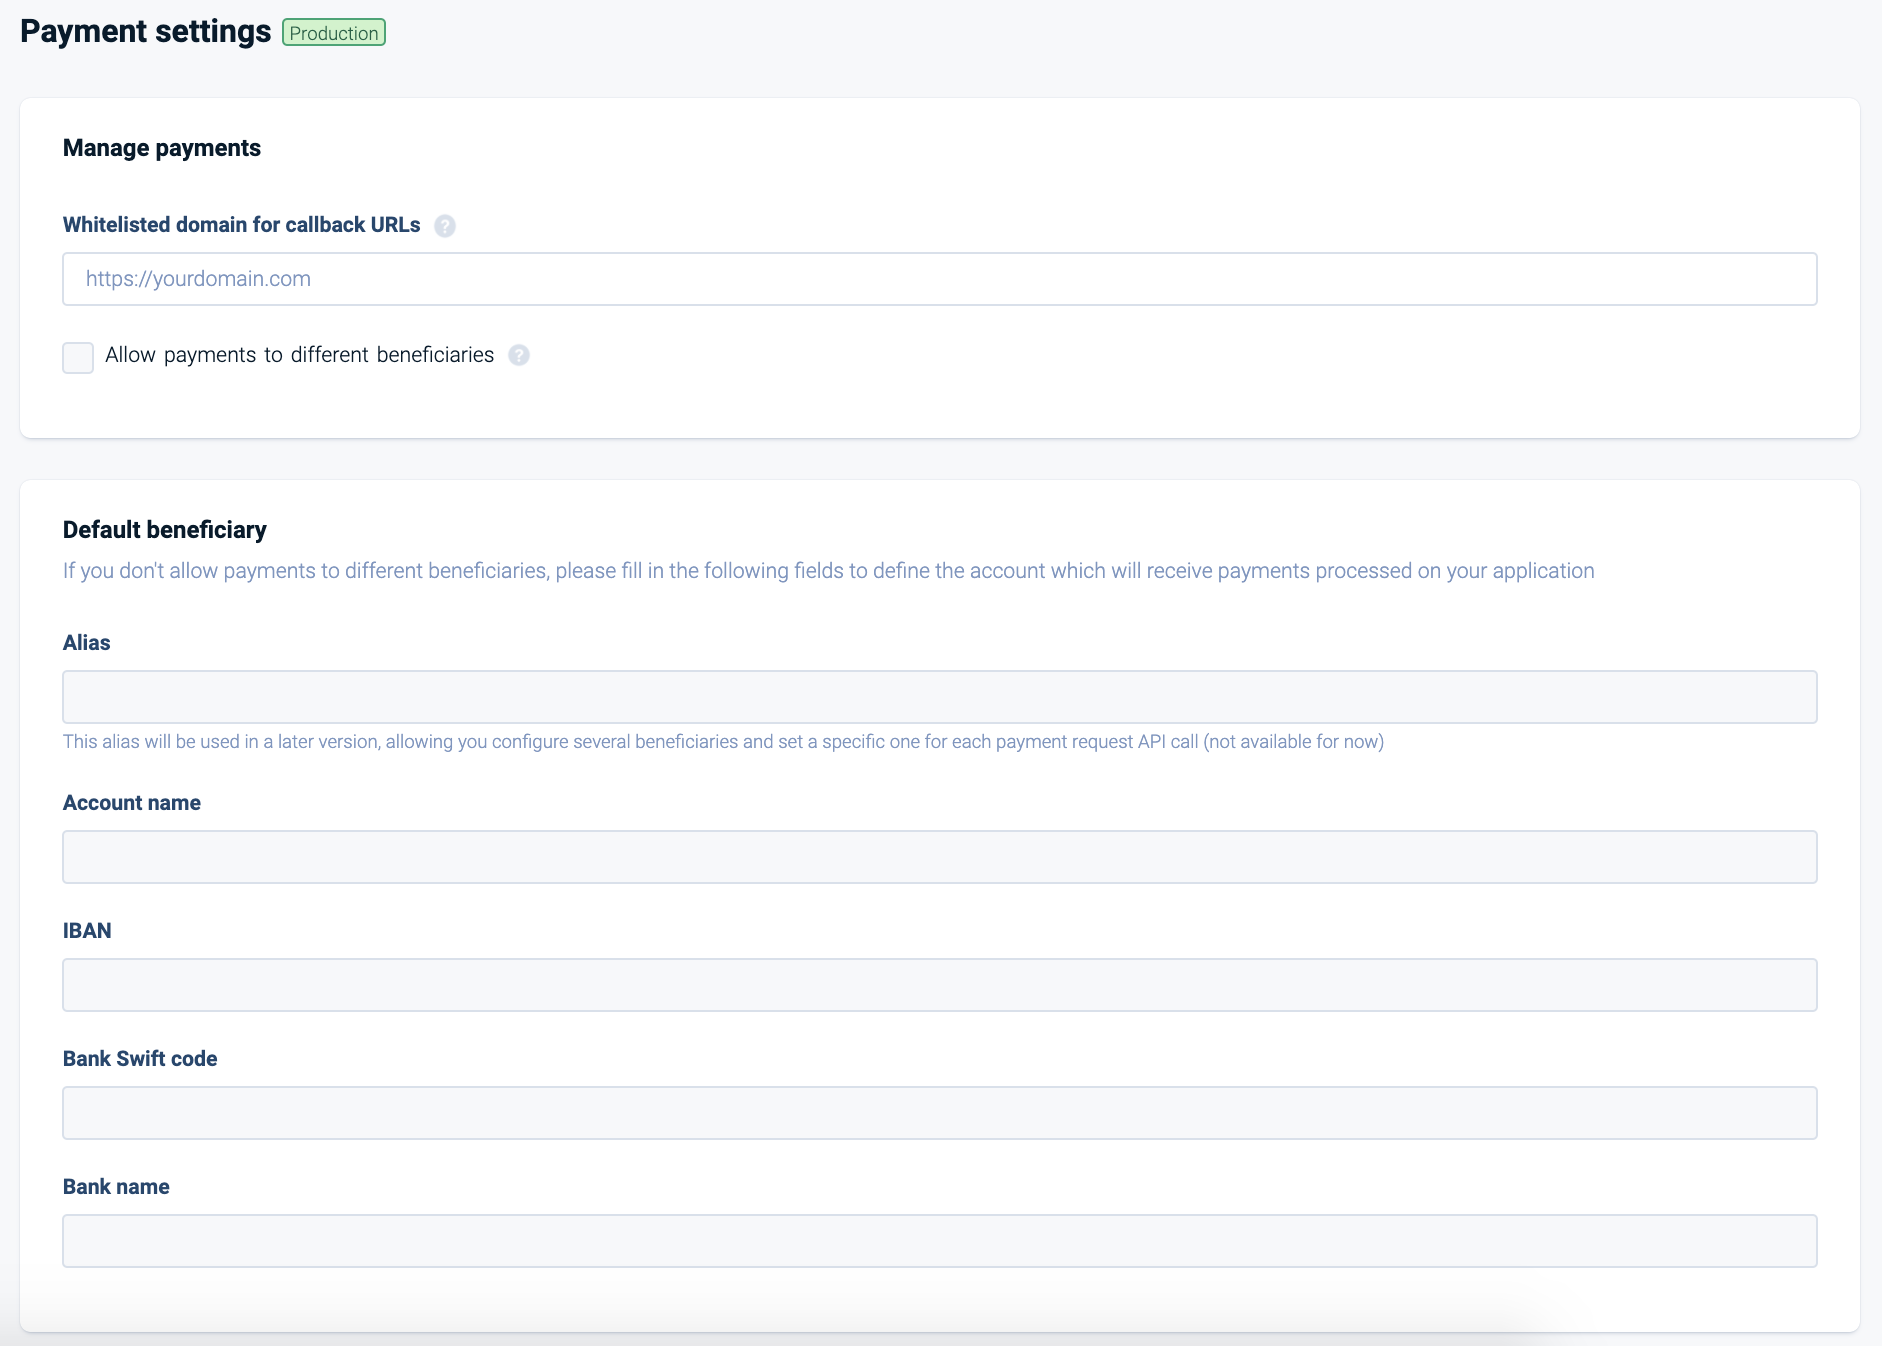
Before creating a Payment Link, you need to configure the Payment settings on our dashboard.
The field Whitelisted domain for callback URLs is not used for the Payment Links feature so you can fill it with your product website URL for example or any other https URL (there is no consequences). Let Allow payments to different beneficiaries unchecked.
Then complete the Default beneficiary with the fields:
AliasAccount nameIBANBank Swift codeBank name
All the payments initiated with your application will be sent to this beneficiary.
Note: if your application is in production, you need to be an administrator to edit the payments settings

Payment settings
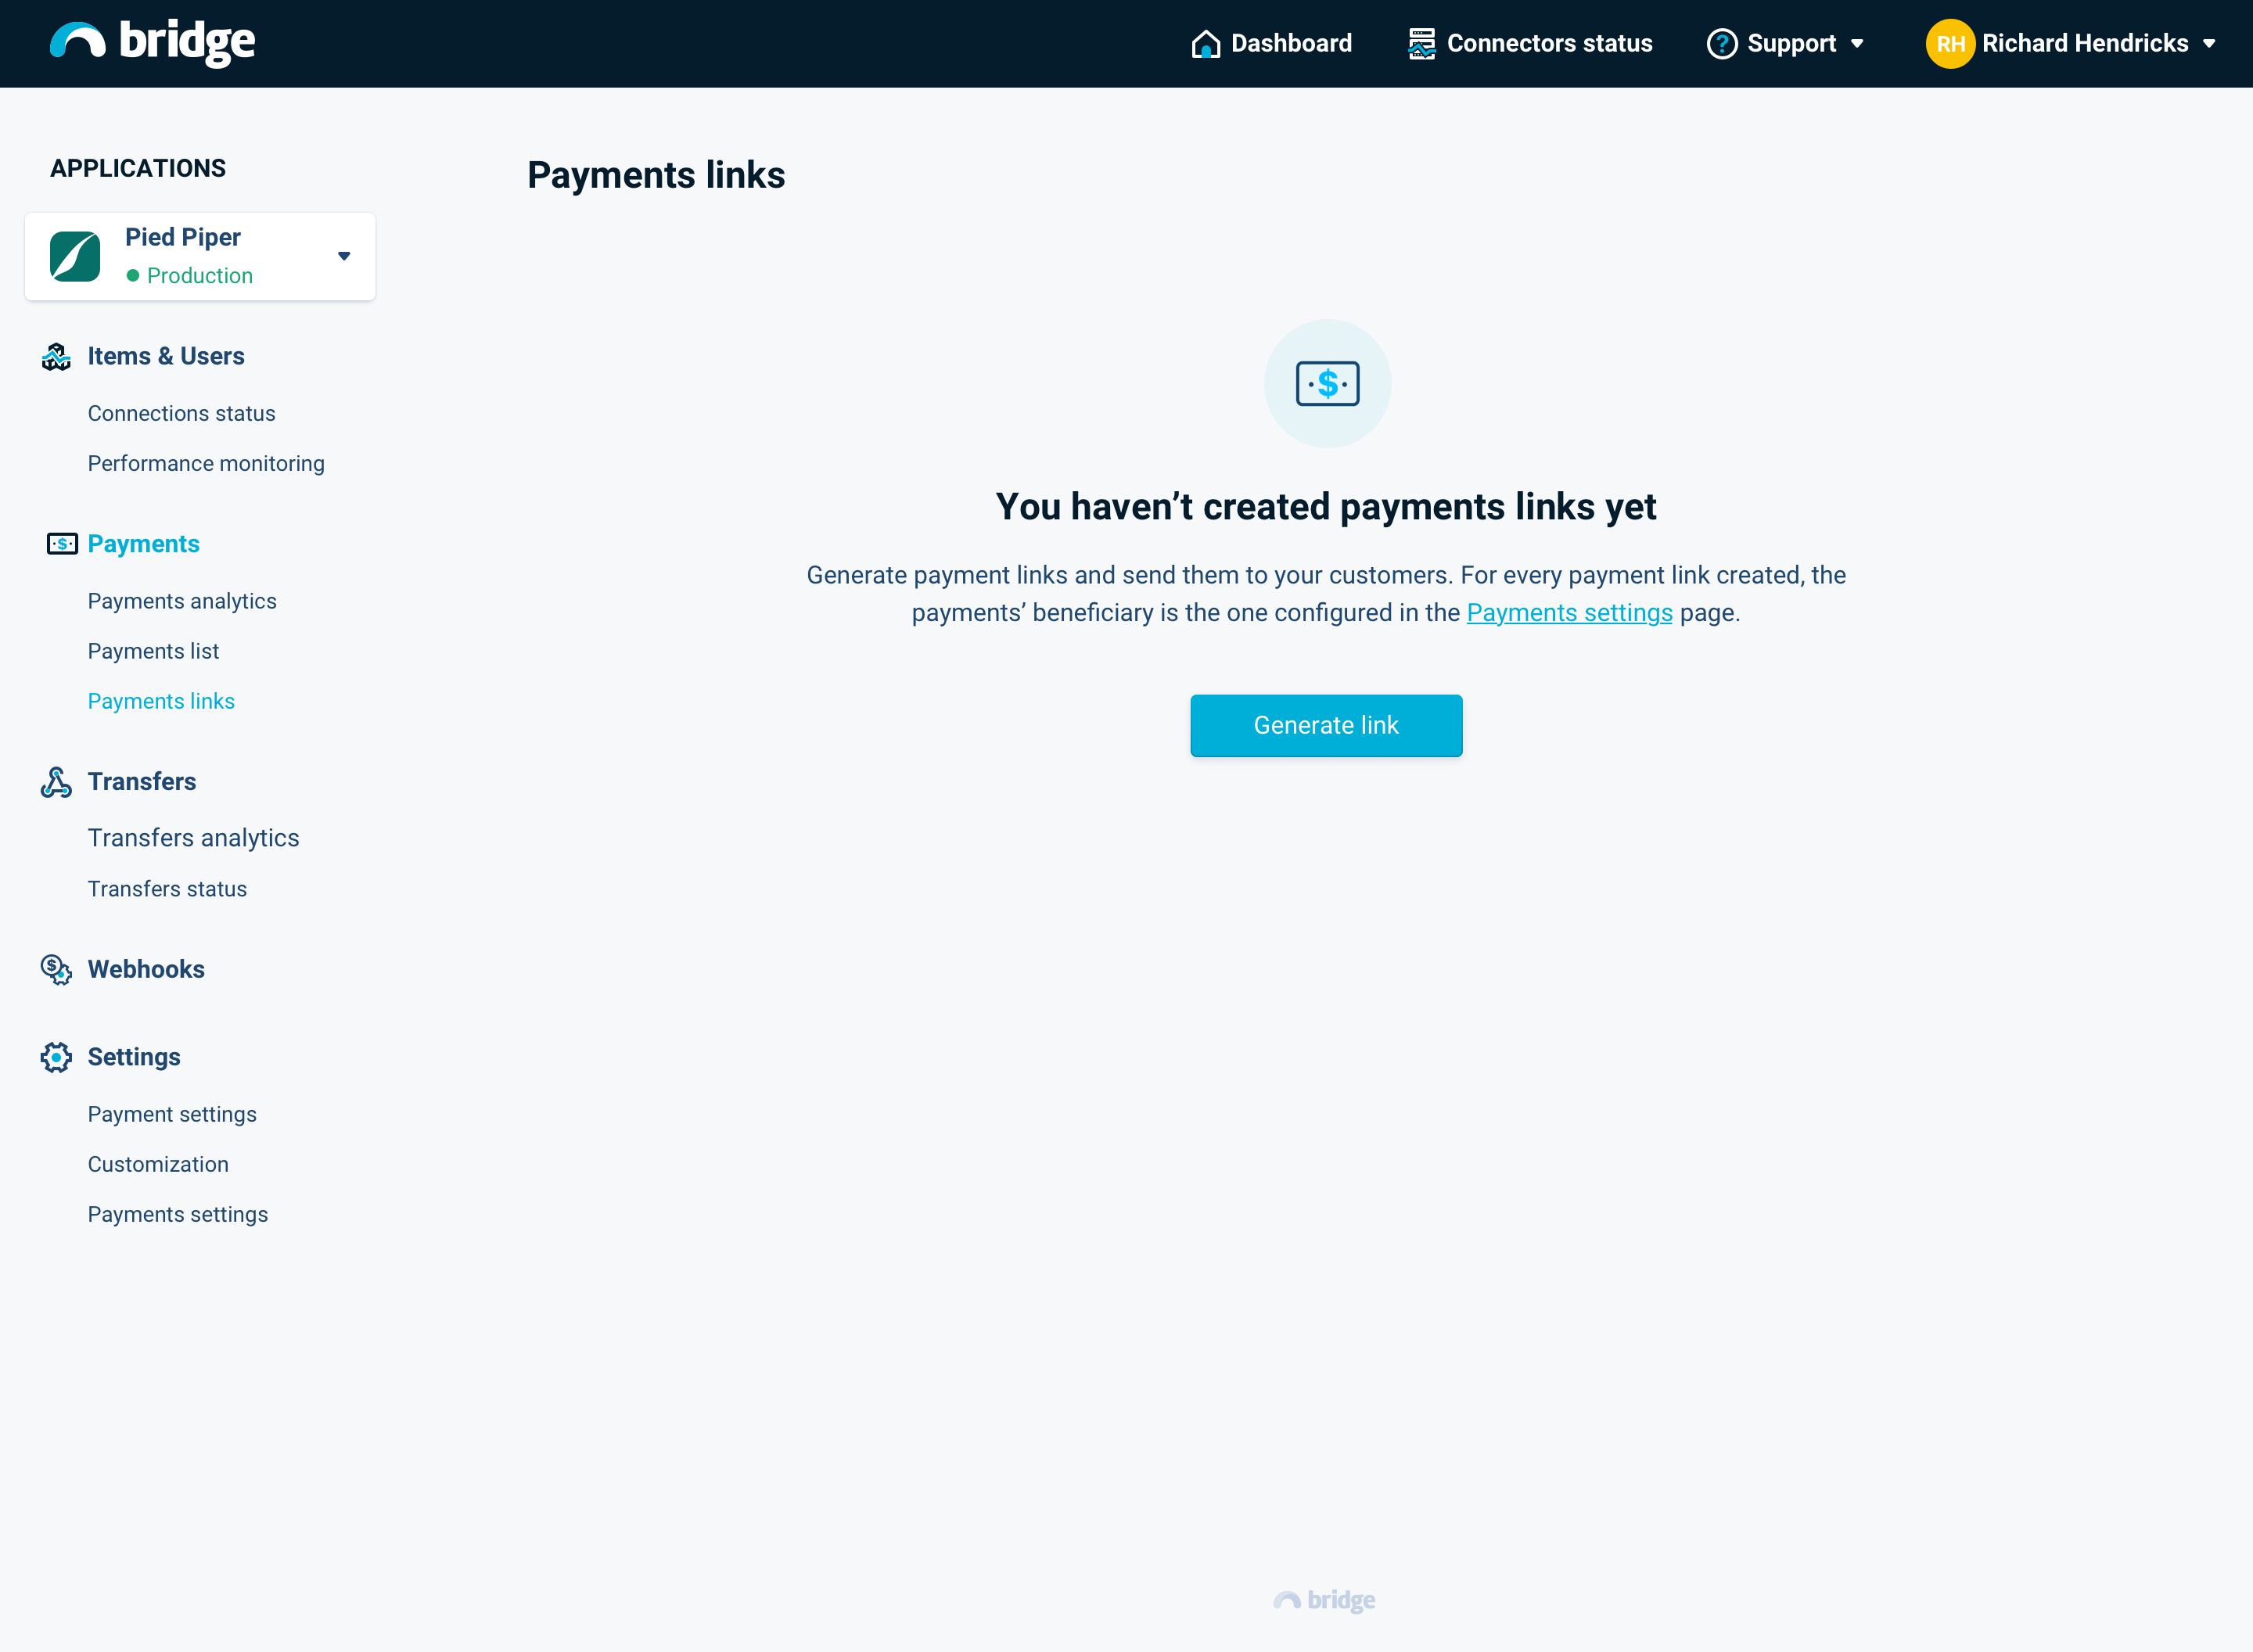
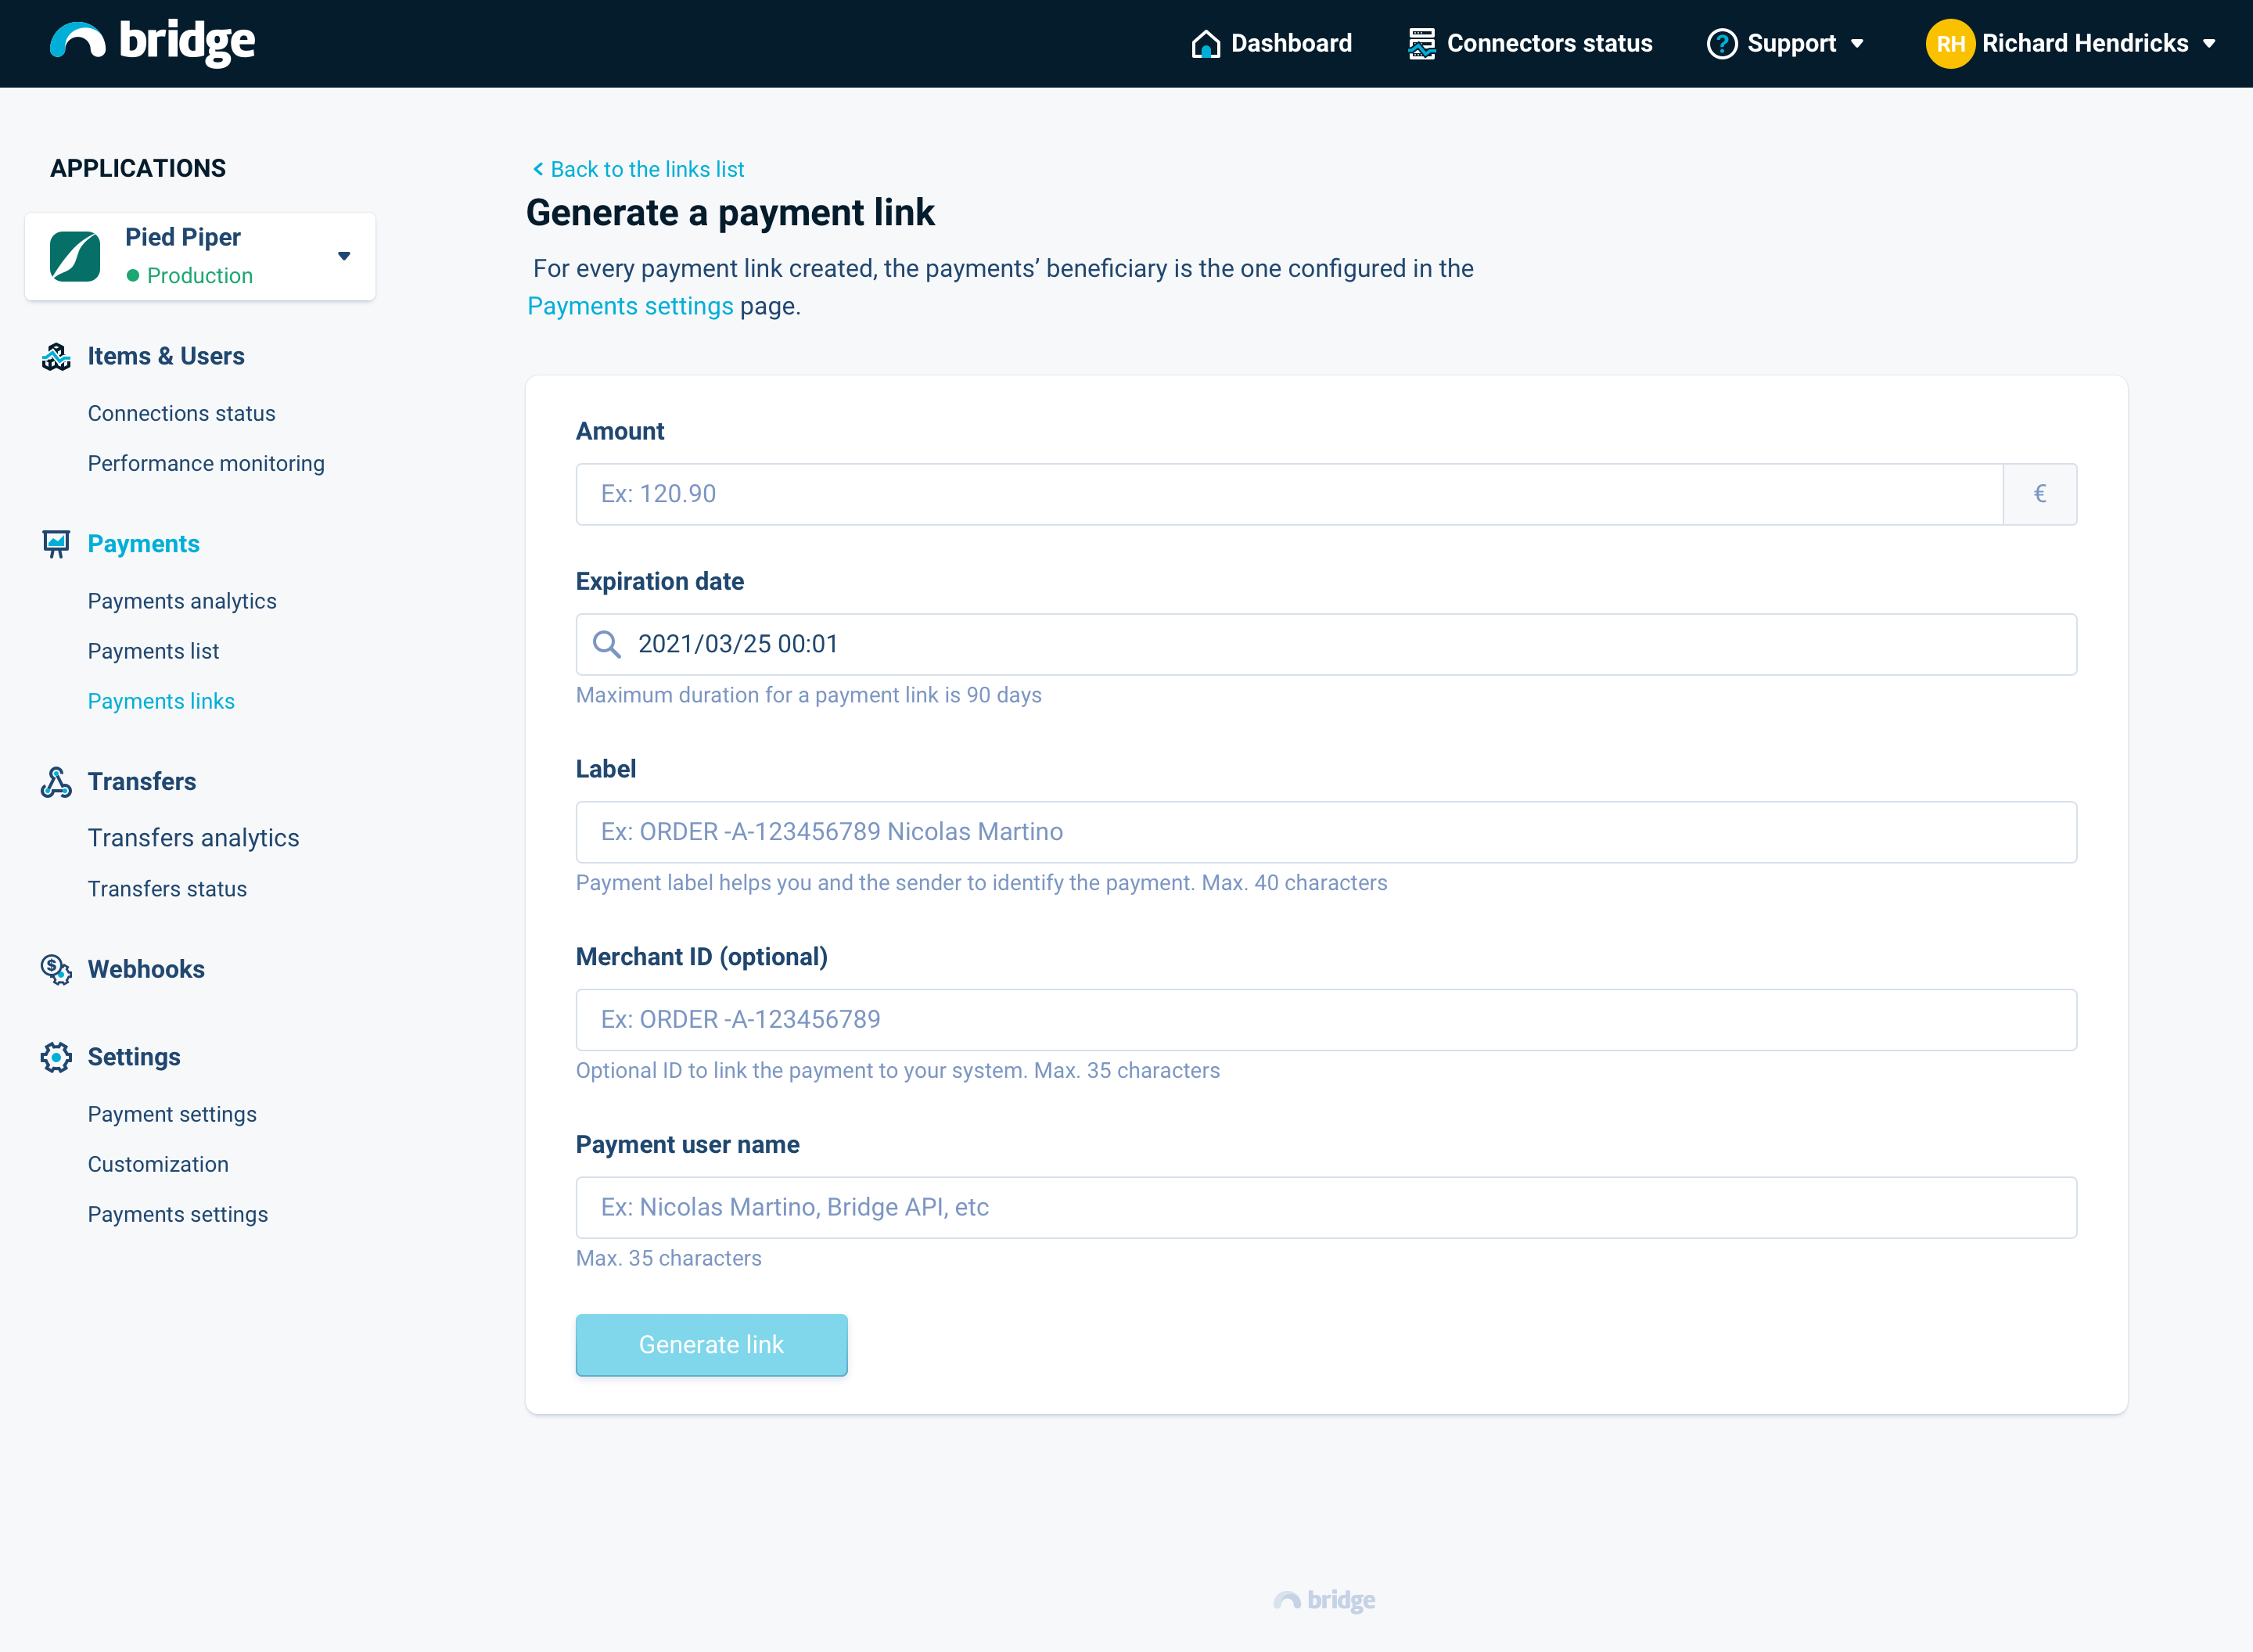
Then you can generate payments links :

The fields required are :
AmountExpiration date: the maximum duration is 90 daysLabel: description displayed on the bank interface of the customerMerchant ID(optional) : internal idPayment user name: name of the customer who will use the Payment Link

Configure your Payment Link
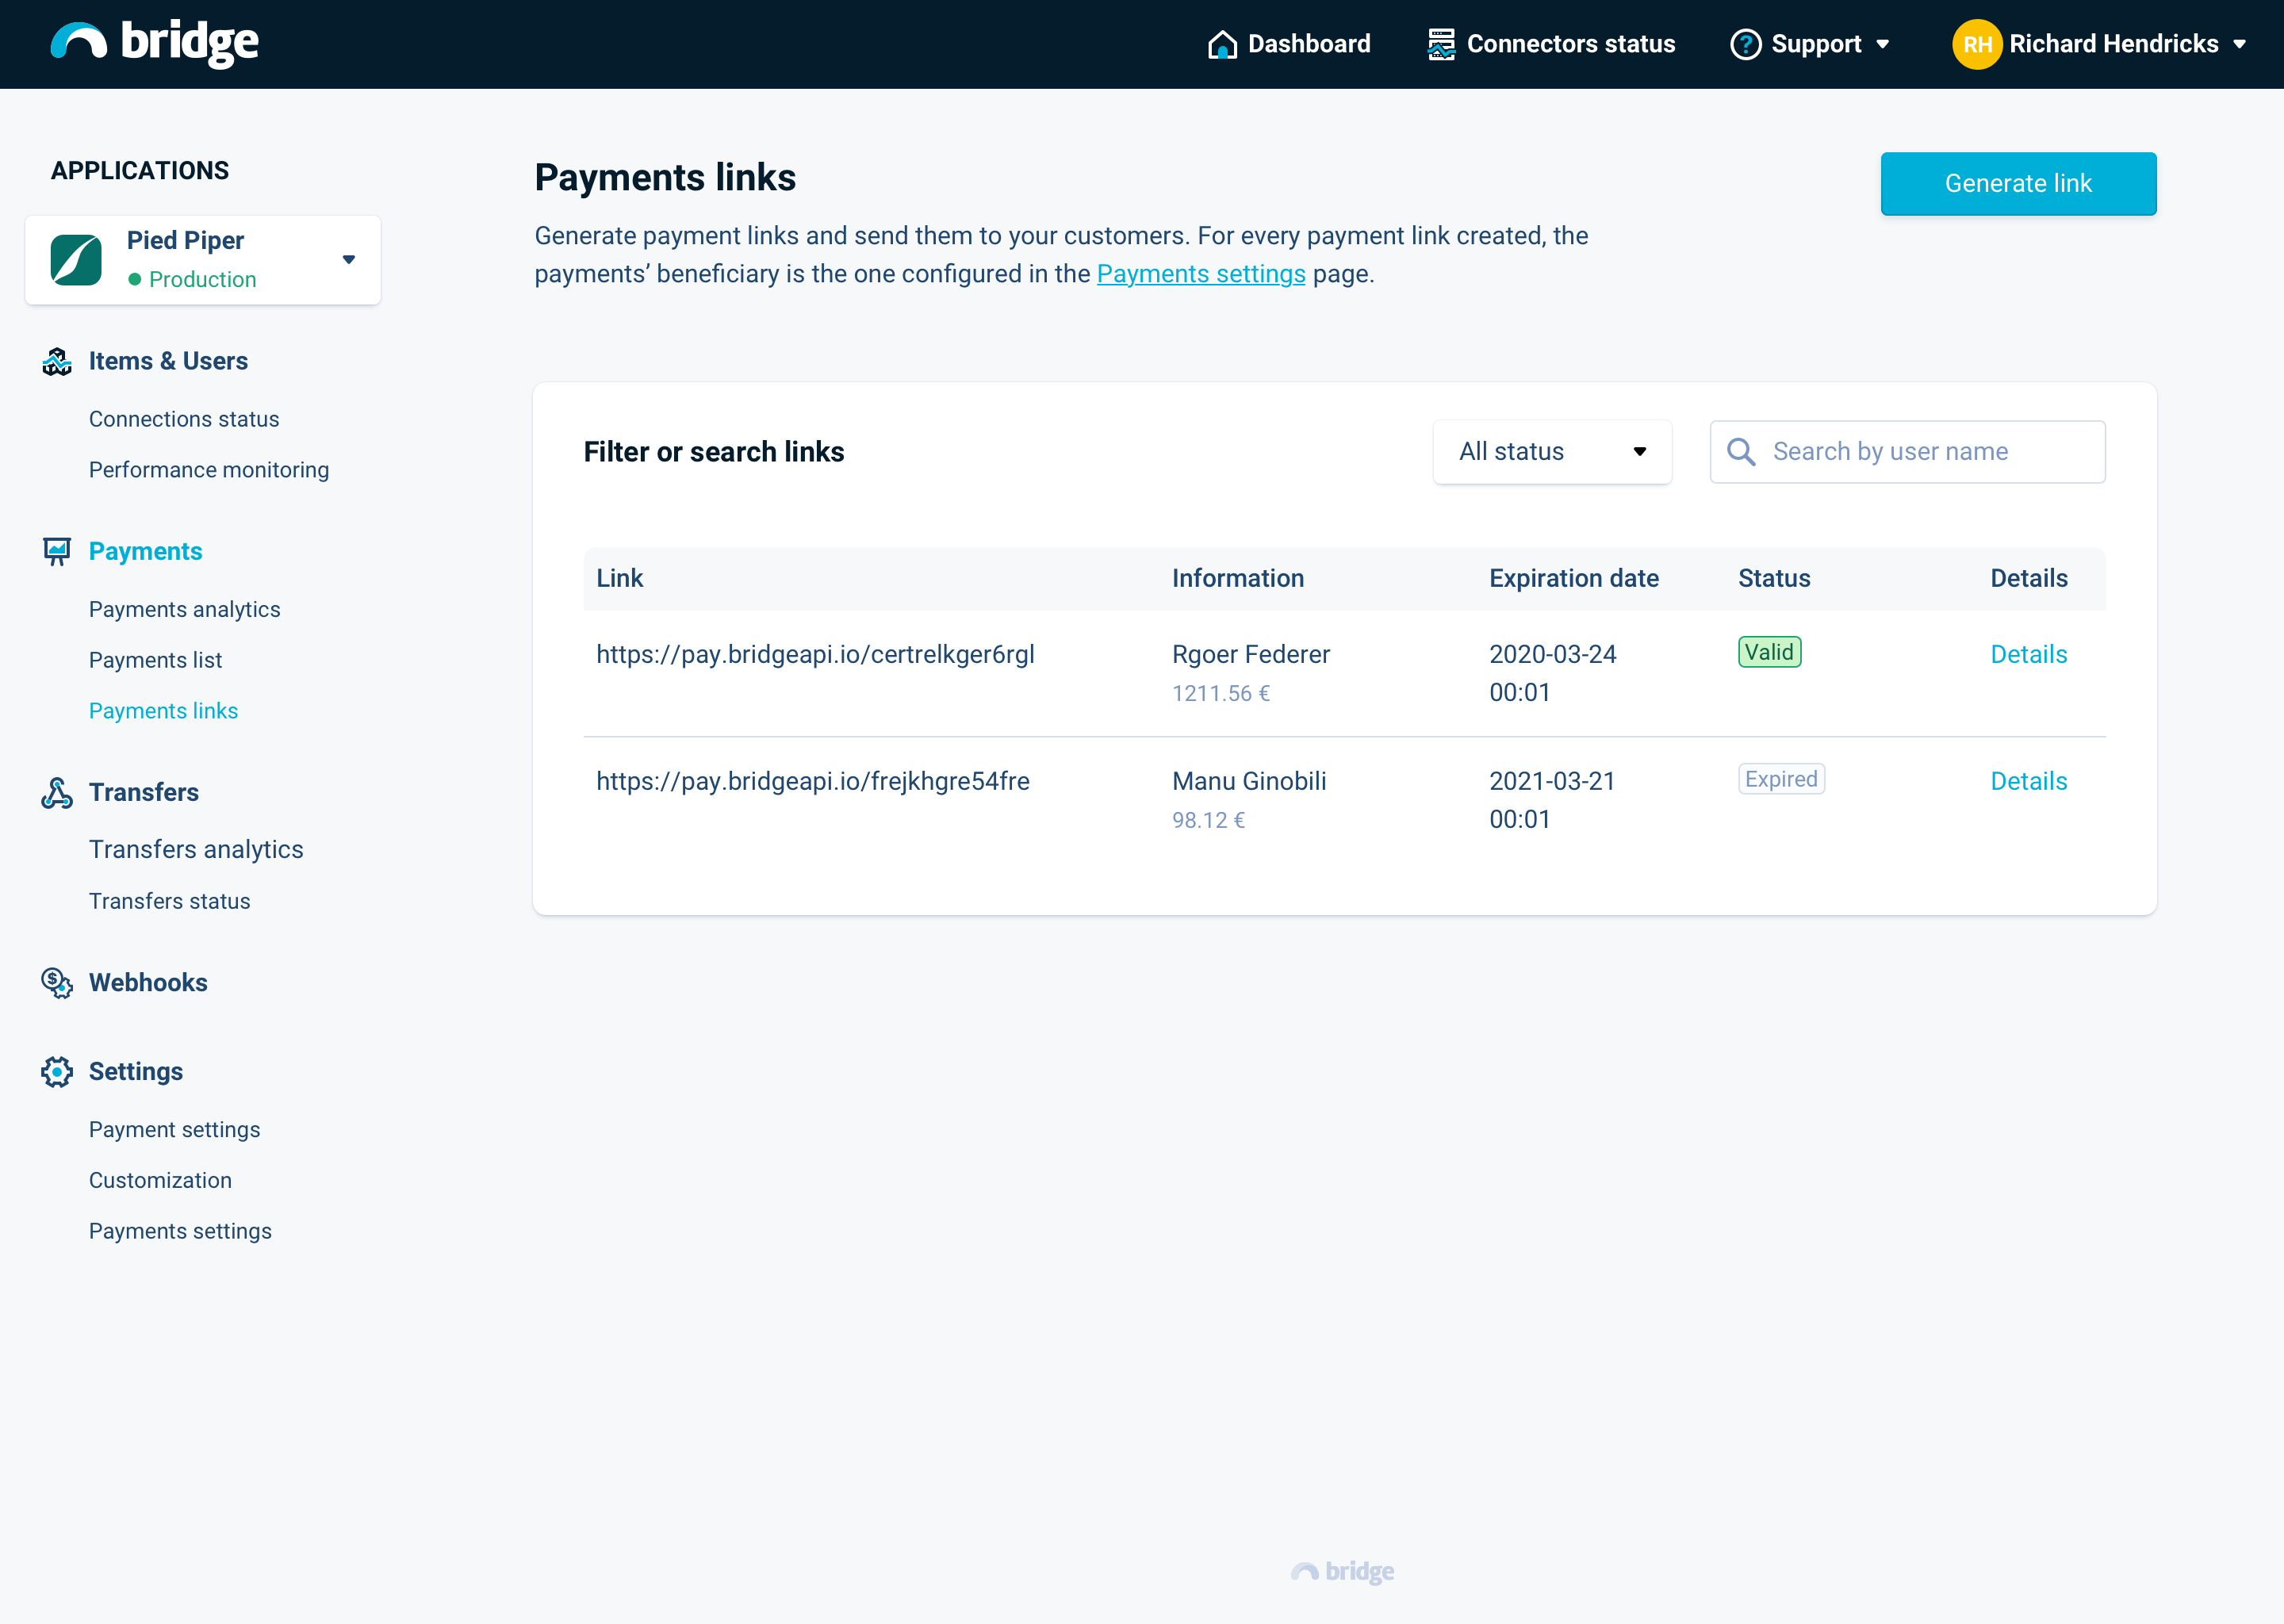
Then you have access to all your payments links generated :

Payments Links list
Updated about 4 years ago
